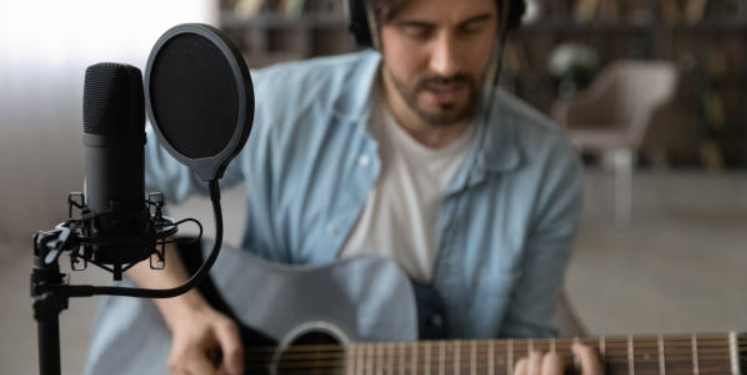
In today’s digital age, audio plays a crucial role in various forms of content creation, ranging from podcasts and voice-overs to music production and video recordings. Whether you are a professional or an amateur, achieving high-quality audio is essential to captivate your audience. This article will provide you with valuable tips and techniques for recording pristine audio, focusing on microphone selection, placement techniques, and software tools. By implementing these suggestions, you can elevate the overall audio quality of your recordings and deliver a more immersive experience to your listeners.
Importance of Audio
Audio quality significantly impacts the overall production value and listener experience. Crisp, clear, and well-balanced audio enhances the intelligibility of vocals, preserves the tonal nuances of instruments, and immerses the audience in a rich sonic environment. On the other hand, poor audio quality can be distracting, leading to a disengaged audience. Therefore, prioritizing audio quality is crucial to ensure that your message or content is effectively conveyed.
1. Choosing the Right Microphone
Selecting the appropriate microphone for your recording needs is the first step towards capturing high-quality audio. There are various types of microphones available, including dynamic, condenser, and ribbon microphones. Each type has its unique characteristics and best applications. Consider factors such as frequency response, sensitivity, and polar pattern when choosing a microphone. Dynamic microphones are ideal for live performances and loud environments, while condenser microphones excel in capturing detailed and transparent sound. Ribbon microphones are known for their smooth and vintage sound reproduction. Assess your recording environment and intended use to make an informed decision.
2. Microphone Placement Techniques
Proper microphone placement is crucial for capturing the desired sound accurately. Experiment with different microphone positions to achieve the best results. For vocals, position the microphone at a comfortable distance, typically around 6 to 8 inches away, and slightly off-center to reduce plosives. When recording instruments, consider the instrument’s acoustic properties and desired tonal characteristics. For example, placing a microphone closer to the sound hole of an acoustic guitar will yield a more resonant sound, while positioning it near the fretboard captures a brighter tone.
3. Room Acoustics
The acoustic properties of your recording space significantly impact the quality of your audio. Minimize echo, reverb, and unwanted reflections by treating your room acoustically. Use acoustic panels, bass traps, and diffusers to control reflections and absorb excessive sound energy. Additionally, consider recording in a room with minimal background noise and good sound isolation to ensure a clean recording.
4. Pop Filters and Windshields
Vocal recordings often suffer from plosive sounds caused by bursts of air hitting the microphone. To mitigate this issue, utilize pop filters or windscreens. Pop filters are mesh screens placed in front of the microphone to diffuse plosive sounds. Windscreens, on the other hand, are foam coverings that reduce wind noise when recording outdoors or in windy environments. Both accessories effectively minimize unwanted artifacts, ensuring clearer and more intelligible vocals.
5. Using Audio Interfaces
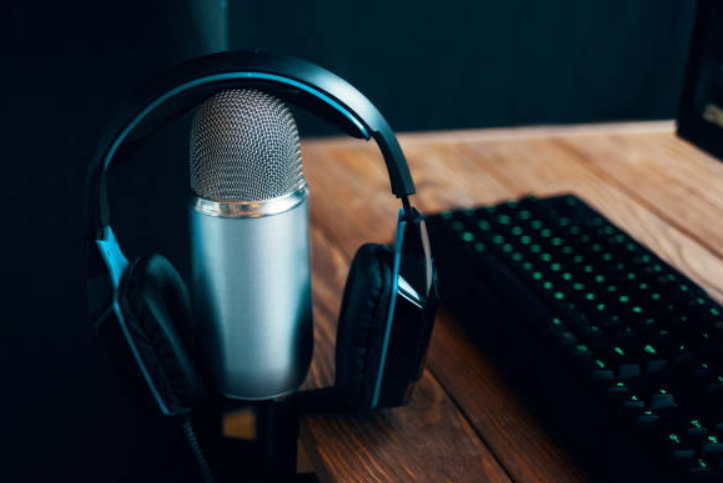
Audio interfaces act as the bridge between your microphone and recording software, converting analog audio signals into digital data. Invest in a reliable audio interface that offers high-quality preamps and low-latency performance. Preamps play a vital role in capturing the nuances of your audio source and amplifying weak signals, resulting in cleaner recordings. Additionally, audio interfaces provide essential connectivity options and control features, enhancing your overall recording experience.
6. Recording Software
Recording software, also known as digital audio workstations (DAWs), is essential for capturing, editing, and mixing your audio. Popular DAWs such as Pro Tools, Logic Pro, and Ableton Live offer a wide range of features and capabilities. Familiarize yourself with your chosen DAW’s interface and functionalities to maximize your recording potential. Experiment with different plugins, effects, and virtual instruments to enhance your audio recordings.
7. Setting Levels
Maintaining proper levels while recording is crucial to avoid distortion and clipping. Aim to keep your audio levels within an optimal range, typically peaking around -12 dB to -6 db. This ensures sufficient headroom for post-processing and prevents any unwanted digital distortion. Utilize the gain control on your audio interface or preamp to adjust the input levels and achieve a clean and balanced recording.
8. Monitoring and Playback
Monitoring your audio during the recording process is vital for detecting any issues or artifacts in real-time. Use high-quality headphones or studio monitors to accurately assess the sound. Monitor at a comfortable volume and ensure that you can clearly hear all the details. After recording, playback your audio through different speakers and devices to ensure compatibility and assess the mix’s overall quality.
9. Noise Reduction
In some cases, background noise or unwanted artifacts may be present in your recordings. Utilize noise reduction techniques to eliminate or minimize these distractions. Most DAWs offer noise reduction plugins that can intelligently analyze and remove unwanted noise without affecting the desired audio. Apply noise reduction sparingly, as excessive use can introduce artifacts or affect the overall tonal balance.
10. Editing and Mixing
Once your audio is recorded, it’s time to edit and mix your tracks. Edit out any mistakes, pauses, or unwanted sections to ensure a seamless performance. Pay attention to timing, pitch correction, and overall coherence. When mixing, balance the individual tracks, apply equalization, compression, and other effects to achieve a polished and cohesive sound. Experiment with panning and spatial effects to create depth and stereo imaging.
11. Exporting and Formats
When exporting your final audio, consider the intended platform or medium. Different platforms may have specific format requirements or guidelines. Choose the appropriate file format, such as WAV or MP3, and ensure the settings align with the desired quality and file size. Aim for a balance between audio quality and file size to optimize streaming and downloading experiences for your audience.
12. Tips for Vocal Recording
For vocal recordings, ensure that the vocalist is comfortable and well-prepared. Warm up the voice and provide clear instructions to achieve the desired performance. Encourage the use of headphones for monitoring, as it helps the vocalist stay in sync with the backing track. Experiment with microphone distance, angles, and polar patterns to capture the best vocal sound for different musical genres.
13. Tips for Instrument Recording
When recording instruments, consider the unique characteristics of each instrument and its ideal mic placement. Experiment with different microphone techniques, such as close miking or stereo miking, to capture the desired sound. Pay attention to the instrument’s dynamics and adjust the input levels accordingly. Use isolation techniques to minimize bleed from other instruments and focus on capturing the instrument’s natural tone.
Conclusion
Recording high-quality audio requires a combination of technical knowledge, proper equipment, and artistic sensibility. By following the tips and techniques discussed in this article, you can significantly enhance the audio quality of your recordings. Remember to choose the right microphone, optimize its placement, pay attention to room acoustics, and utilize appropriate software tools. With practice and experimentation, you’ll be able to capture pristine audio that elevates the impact of your content and captivates your audience.
FAQs
1. What is the best microphone for vocal recording?
The best microphone for vocal recording depends on various factors, such as the vocalist’s voice, musical genre, and recording environment. Some popular choices include the Shure SM58, Neumann U87, and Audio-Technica AT2020.
2. Can I record high-quality audio with a budget microphone?
While budget microphones may not offer the same level of sonic fidelity as higher-end options, it’s still possible to achieve decent audio quality. Focus on optimizing other aspects, such as room acoustics and microphone placement, to compensate for any limitations.
3. How can I reduce background noise in my recordings?
To reduce background noise, utilize noise reduction plugins available in your recording software. These plugins analyze the noise profile and apply adaptive filtering techniques to minimize unwanted artifacts.
4. Should I use analog or digital audio interfaces?
Both analog and digital audio interfaces have their advantages. Analog interfaces often provide a warmer and more vintage sound, while digital interfaces offer better flexibility, control, and compatibility with modern recording workflows. Consider your specific needs and preferences when choosing between the two.
5. What file format should I use for audio export?
The choice of file format depends on the intended platform and usage. For high-quality, lossless audio, consider using WAV or FLAC formats. For streaming or online distribution, compressed formats like MP3 or AAC are commonly used.


